Hello everyone!! I L.O.V.E. linky parties, so I have decided to create one on my blog!! I am so excited, and hope that I get some link-ups!! Hope you have a Terrific Tuesday!!!
Please grab a button and link back here! Thanks!
~mariah~

Tuesday, January 31, 2012
Monday, January 30, 2012
Up To My Neck In Craft Supplies
My mom has a T.O.N. of craft supplies that she has collected over the years. Unfortunately they haven't been organized, and over the years other stuff has cluttered her craft area as well. So this past weekend I have been helping her get it sorted through and organized. Thankfully my dad got my mom about 18 clear totes for Christmas!! So we are getting rid of all of the cardboard boxes!! It is a big project that will probably take a few months to completely finish, but we have already made huge progress!!
Here are some before pictures of the mess.


Here are some before pictures of the mess.


I will post some progress pictures soon!! We have already filled 6-8 boxes with garbage and 3-4 boxes with stuff to donate to the D.I.!!! Hooray for purging!!!
Friday, January 27, 2012
Bye-Bye Frumpy Friday {1}
Being a stay-at-home mom can sometimes make it easy to fall into the habit of being a little "frumpy". SO, to help with this little problem I have, I've decided to start posting pictures of my outfits for the week. {I got this idea from Jess at Craftiness Is Not Optional} I am going to post on Fridays and call it "Bye-Bye Frumpy Fridays!!" What do you think? Kind of cheesy?
 I just have one picture for this post, it is my outfit from today! And I think my outfit is cute, but I was still a little frumpy, since I just pulled my hair back, didn't put on makeup, and wore my glasses! Oh well, its only day one, right?!!
My little sister just went through her clothes, and gave me a bunch of things she was getting rid of, so this whole outfit came from her!! EXCEPT for the shoes, I found those at the D.I. today!! Hooray!


My little sister just went through her clothes, and gave me a bunch of things she was getting rid of, so this whole outfit came from her!! EXCEPT for the shoes, I found those at the D.I. today!! Hooray!

Hope you all have a great weekend!!! I plan on doing some major organizing at my mom's house!!
Thursday, January 26, 2012
Girls Night Out!
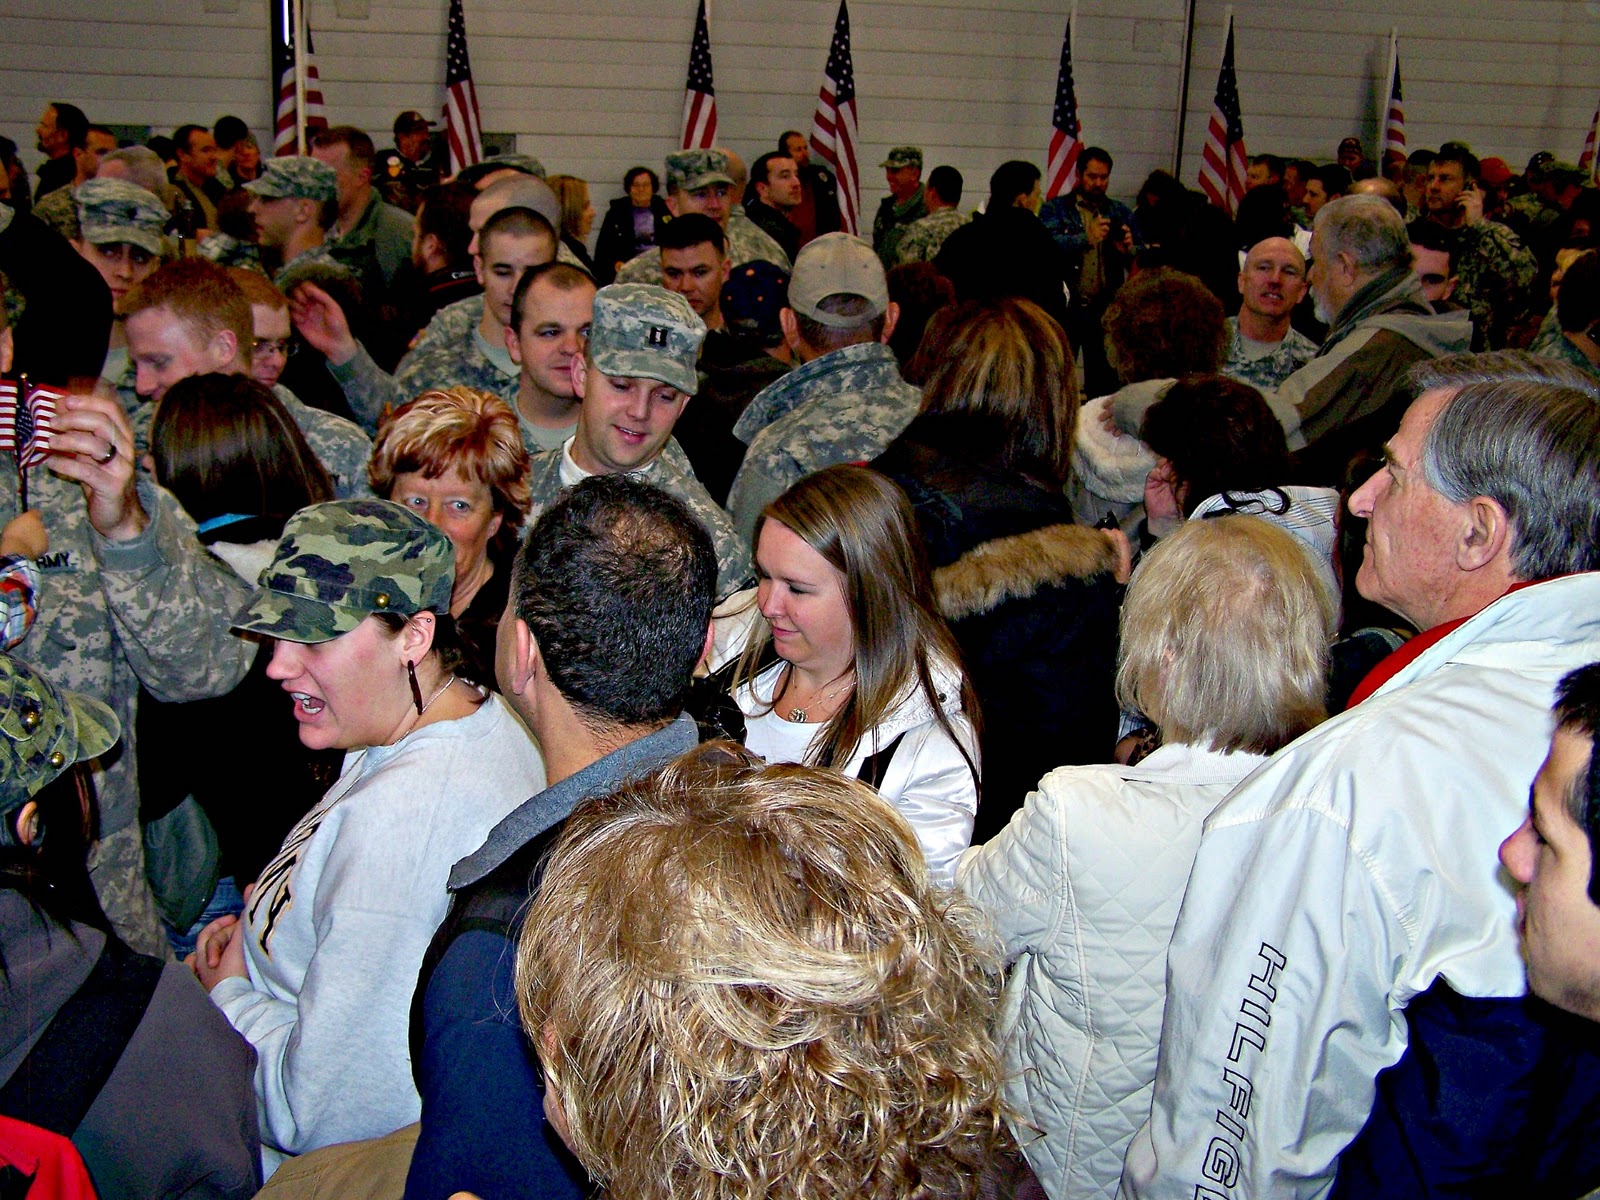
What do you get when you put 9 A.W.E.S.O.M.E. army ladies together in one place?
Answer: One Heck of a Good Time!!!!!

Last night I went out to dinner with eight other fabulous ladies whose hubbies are in the same unit as mine! We ate yummy food, and had great conversation! It was just what I needed, after having a rough day with my kiddos!! Thanks ladies for a great time!
Answer: One Heck of a Good Time!!!!!

Tuesday, January 24, 2012
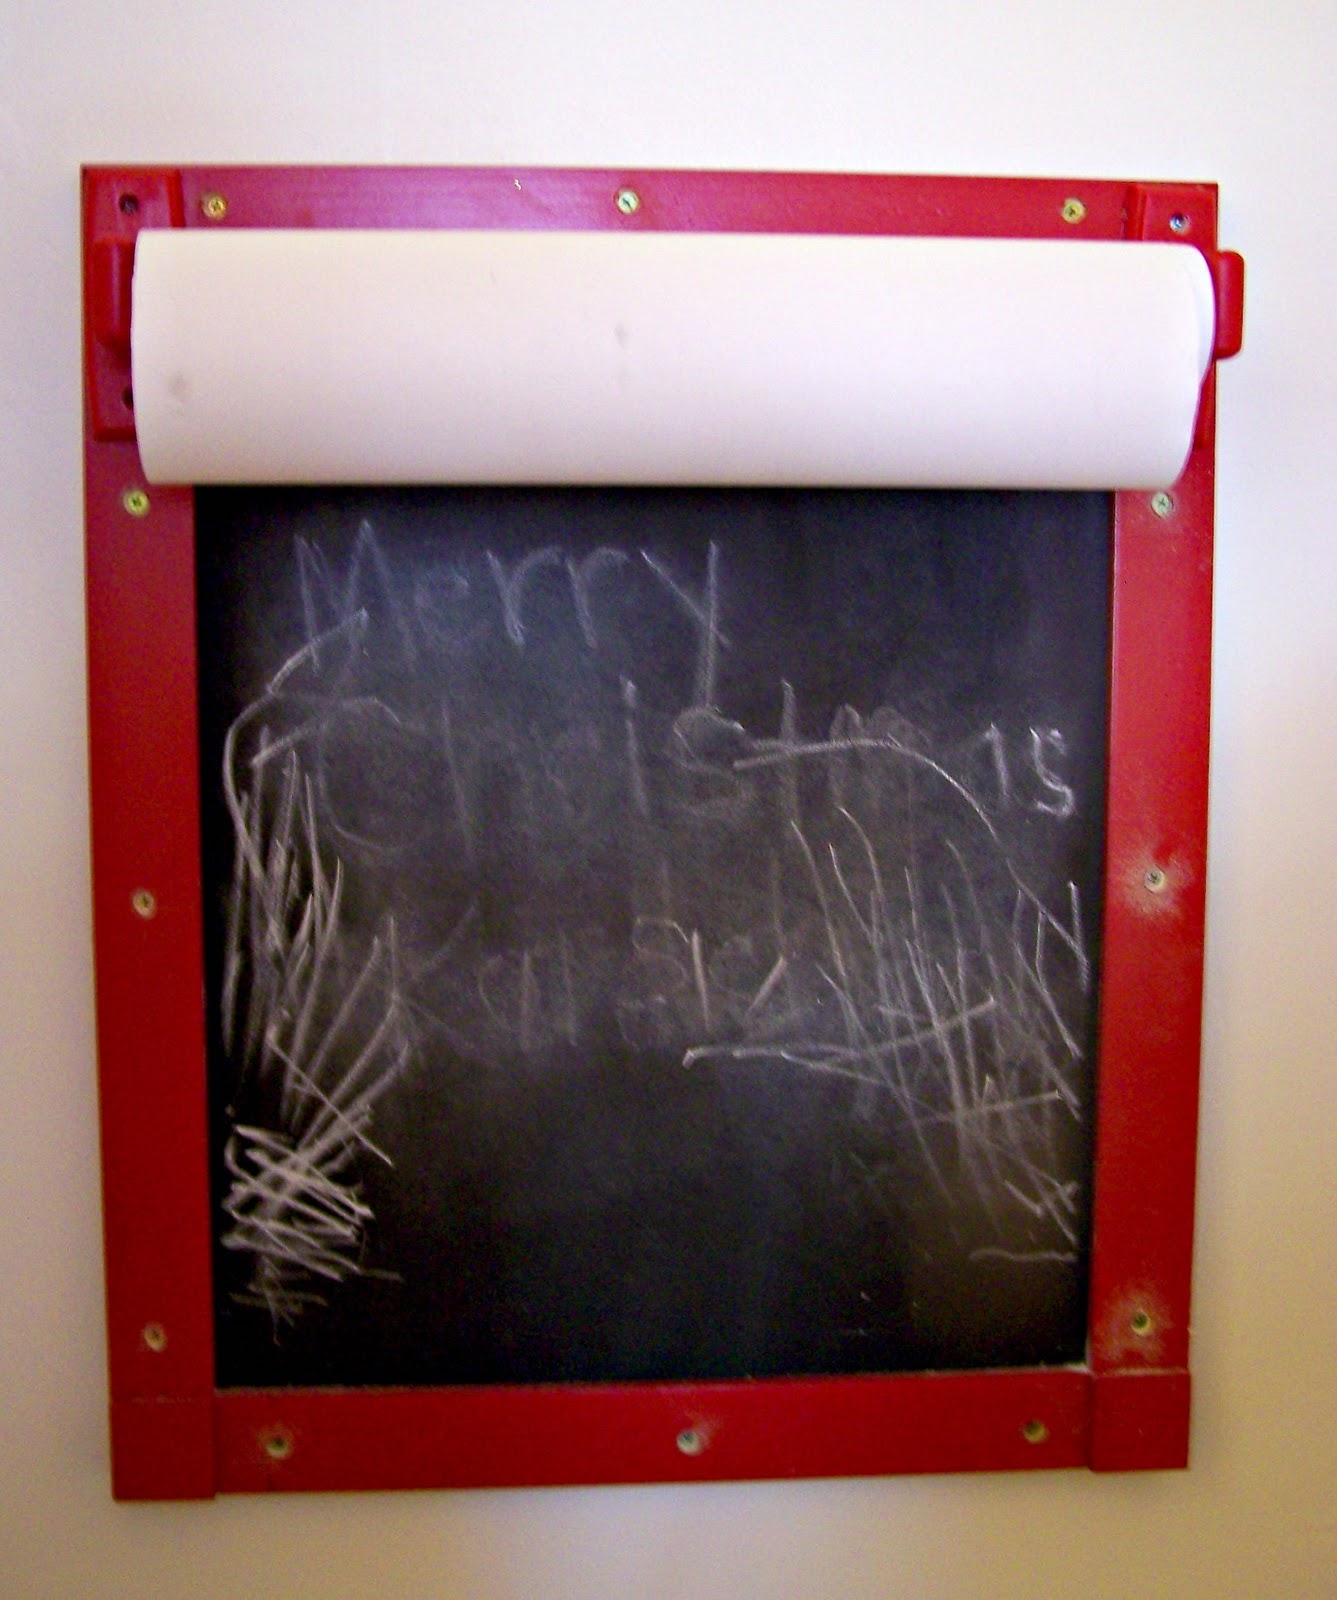
Wall Easel
I wanted to get my son an art easel for Christmas, but we didn't have room for one:( So as I was searching through the toys on amazon.com, I found this awesome easel that hangs on the wall!

I found one at the D.I. for $3, so I just gave it a couple coats of red paint and then painted a piece of wood with chalkboard paint to fit on the inside of the frame. We used a wooden towel rod to hold the roll of paper, and VOILA, we had our very own wall easel! I still want to add some straps across the top and bottom with velcro to hold the paper in place.
{Yikes, I really should have wiped off the sawdust before taking these pics}
{Yikes, I really should have wiped off the sawdust before taking these pics}
At the end of our hallway there is a little nook for the entrance to the cellar. {we rarely use it} We decided that it would be a perfect spot to hang the easel and make a great little art corner! I plan on sprucing it up some more with a fun vinyl wall saying or something above the easel.

I also found this canvas organizer at the D.I. which is perfect for holding all of the art supplies.


Then because we will have lots of artwork, I want to make a display for all of it in the hall. I found this idea on pinterest and L.O.V.E. it! {it's the blog A Little of This--A Little of That, click on the picture to go to their blog} I want to do something similar!

Monday, January 23, 2012
Inspired by Dream Digital Designs
Do you like my new blog design? I was trying to make a new title banner for my blog, and did a google search for "free digital scrapbooking papers". Of course a ton of things came up, but this lovely pack from Dream Digital caught my eye!
 See that aqua one? Yep, that is the one that I loved and wanted to use for my banner! So I emailed the lovely Silvia {mastermind of Dream Digital} and asked if I could use her paper for my blog. She willingly said yes, and I went to work creating the masterpiece{if I do say so myself!} that is my new blog design!
Come to find out, Silvia has an Etsy shop {Dream Digital Download} filled full of A.M.A.Z.I.N.G. digital downloads and prints. Check out her shop and blog, and give her some love from mariah's creations!
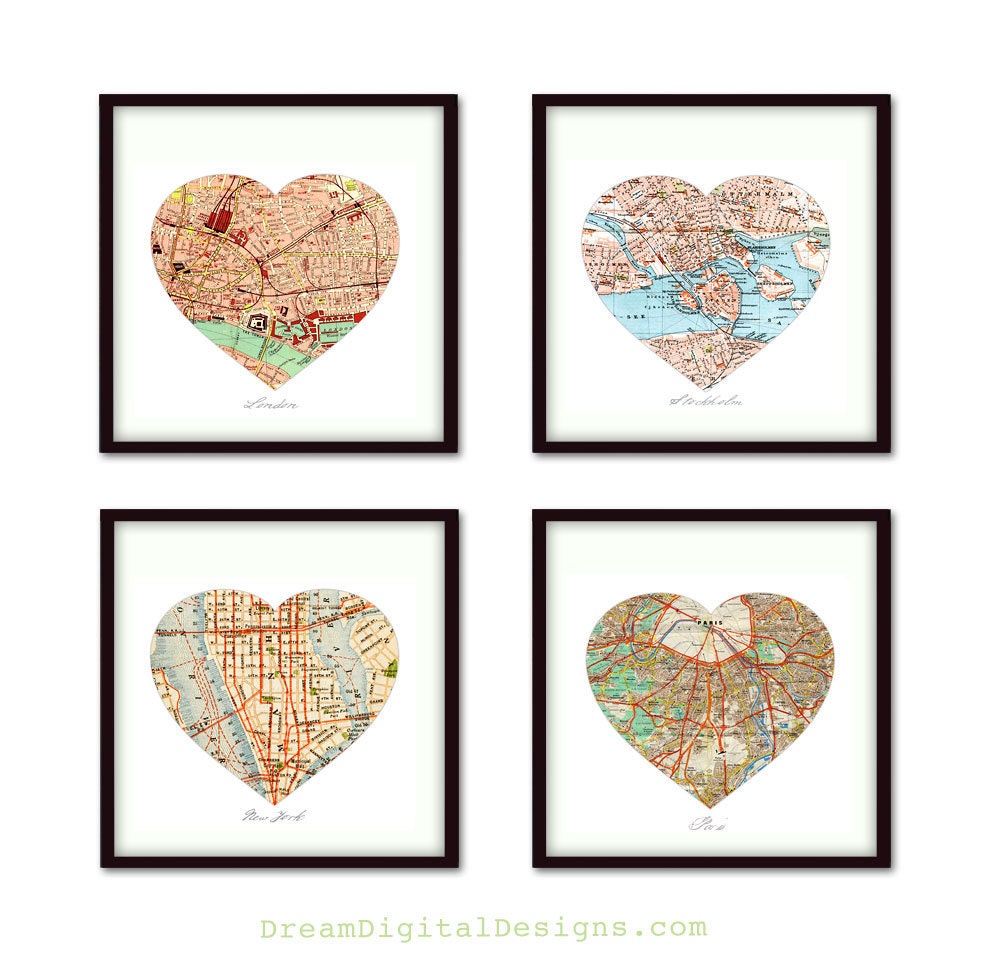
Here are some of my favorite things in her shop:
Heart shaped maps...L.O.V.E. it! {Customizeable, is that a word?}
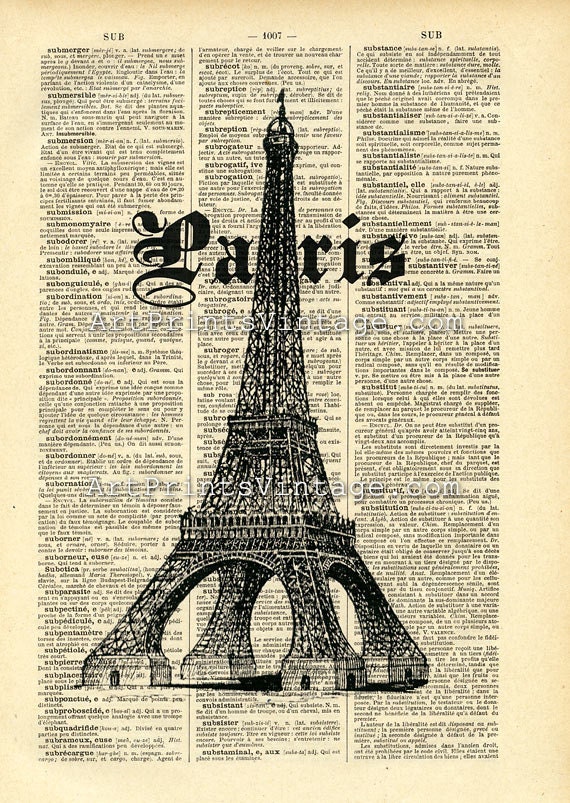
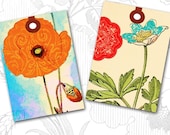
Paris print on a dictionary sheet.
Look at these A.W.E.S.O.M.E. downloads!
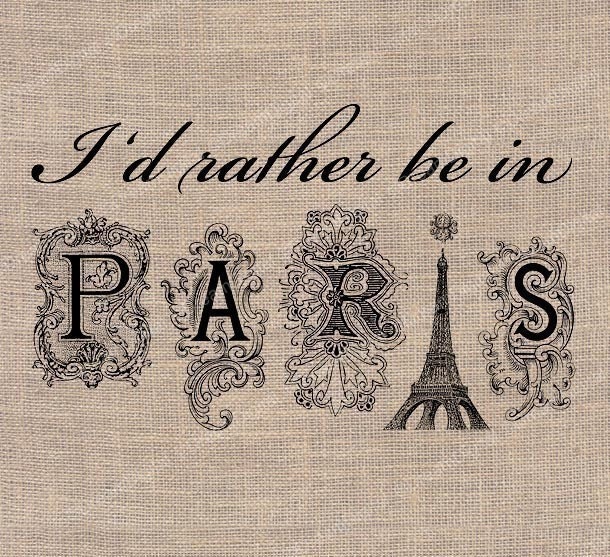
Very True! {Can you tell that one of my dreams is to go to Paris?!!}
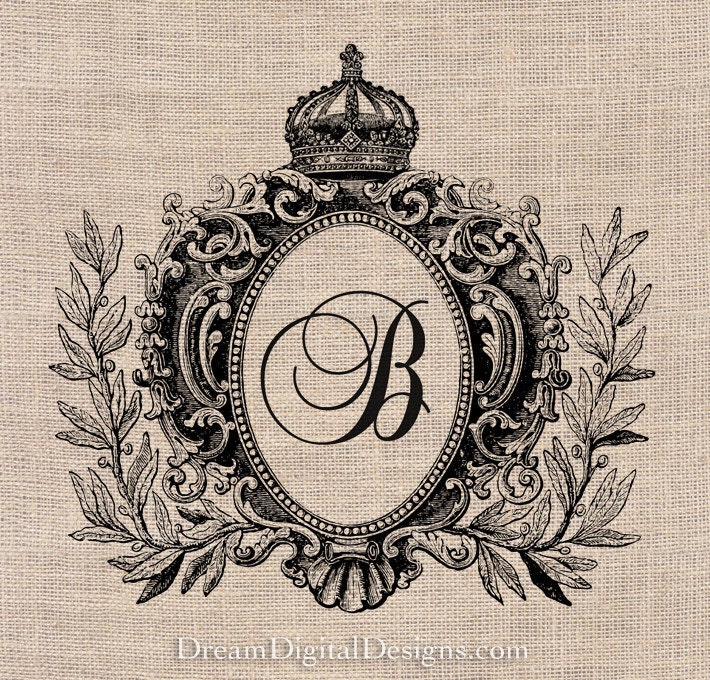
I will definitely be ordering this!! It even has the right initial! {Also customizeable}
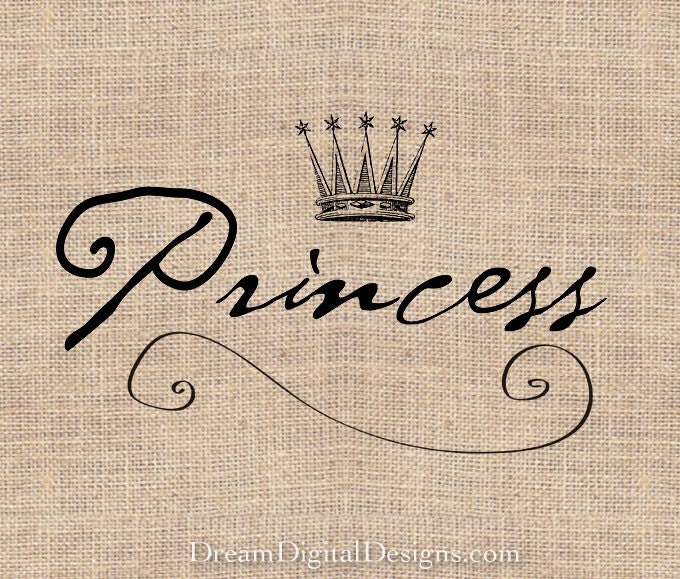
I want this for my daughter's room!
Love these fun and bright vintage gift tags!
There are many many other amazing things in Silvia's shop, so go check it out! You won't regret that you did!
Have a fabulous day!
Come to find out, Silvia has an Etsy shop {Dream Digital Download} filled full of A.M.A.Z.I.N.G. digital downloads and prints. Check out her shop and blog, and give her some love from mariah's creations!
Here are some of my favorite things in her shop:
Heart shaped maps...L.O.V.E. it! {Customizeable, is that a word?}
Paris print on a dictionary sheet.
Look at these A.W.E.S.O.M.E. downloads!
Very True! {Can you tell that one of my dreams is to go to Paris?!!}
I will definitely be ordering this!! It even has the right initial! {Also customizeable}
I want this for my daughter's room!
Love these fun and bright vintage gift tags!
There are many many other amazing things in Silvia's shop, so go check it out! You won't regret that you did!
Have a fabulous day!
Friday, January 20, 2012
Valentine's Day Decor!
Have you just been D.Y.I.N.G. to see what I use my pinwheels for? I bet so!! Well, I used them on a little Valentine's Day bunting for my mantel!!

I made the bunting with felt that I stitched around with embroidery floss, and binding tape folded over the top and stitched with a zigzag stitch. Then I just used some hot glue to attach the pinwheels! I also did add little pompoms to the center of the pinwheels.

I serves as the focal point for my Valentine's Day mantel! I love it!!! {I have more to add to finish up the mantel, including replacing my New Year's printable with a more appropriate one, but I thought that I'd give you a little sneak peek!}


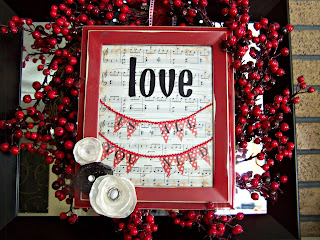
I also thought that I would share another Valentine's Day craft that I made last year, my "love is all you need" wreath. I saw this on a blog, and decided to try it.{I have N.O. C.L.U.E. which blog I saw it on, so if it was yours, let me know so that I can give you some credit!}

I serves as the focal point for my Valentine's Day mantel! I love it!!! {I have more to add to finish up the mantel, including replacing my New Year's printable with a more appropriate one, but I thought that I'd give you a little sneak peek!}

Linking up to:
Wednesday, January 18, 2012
Making Pinwheels {Tutorial}
Hello everyone!! I have been getting excited to decorate for Valentine's Day, and thought that I would share a fun and easy little project with you!
How to make a pinwheel!! {This was my first attempt at making pinwheels, and I just looked at some pictures and tried to duplicate!}
First I found some fun "love-y" scrapbooking paper and cut it into 6" squares. {of course, any size squares will do!}
Then I drew a straight line from corner to corner, using a ruler. This gave me the guide lines to cut, and also found the center of the square.

Next, cut along the lines, stopping about an inch from the center on each line.


Now, pick a corner and fold it in to the center, sticking it to the tape.

Then do the opposite corner.


I did have a couple of failures :( This paper was just too thick, even for hot glue. Not to mention the fact that the bar code was showing. I also folded the wrong sides of the paper in on the one on the left, so the pinwheel was going the wrong direction. Oh well, I have big plans for this paper now {they are just different plans!}

Here are the pretty finished products, Cute Valentine's Day Pinwheels!!

Hope you enjoyed my first attempt at a tutorial! Have a great day!! {actually it should be night, since it is currently 1:00 am!}


How to make a pinwheel!! {This was my first attempt at making pinwheels, and I just looked at some pictures and tried to duplicate!}
First I found some fun "love-y" scrapbooking paper and cut it into 6" squares. {of course, any size squares will do!}
Then I drew a straight line from corner to corner, using a ruler. This gave me the guide lines to cut, and also found the center of the square.

Next, cut along the lines, stopping about an inch from the center on each line.

I decided to use double stick tape to create the pinwheel shape. So just put a small piece directly in the center of the square.

Now, pick a corner and fold it in to the center, sticking it to the tape.


Then add another small piece of tape to the center and fold the last two corners into the middle.
{Note: make sure that you fold in the same side of the corner on all four sides. Does that make sense?}


And now you have a cute little pinwheel!! Of course its fun to embellish the center, and pin it to something so that it will spin!

The double stick tape worked great for the regular weight paper, but for a thicker paper {like the sparkly one I used} hot glue worked best.

I did have a couple of failures :( This paper was just too thick, even for hot glue. Not to mention the fact that the bar code was showing. I also folded the wrong sides of the paper in on the one on the left, so the pinwheel was going the wrong direction. Oh well, I have big plans for this paper now {they are just different plans!}

Here are the pretty finished products, Cute Valentine's Day Pinwheels!!

You will have to come back to see what I am doing with my pinwheels!
Linking up to:
Monday, January 16, 2012
S.A.D.
Today was R.E.A.L.L.Y. hard. I have really been trying to be strong, but today I allowed myself to cry{let's be honest, I've cried about this many times} I will let the pictures tell the story.


S.A.D.
The End.
Subscribe to:
Posts (Atom)